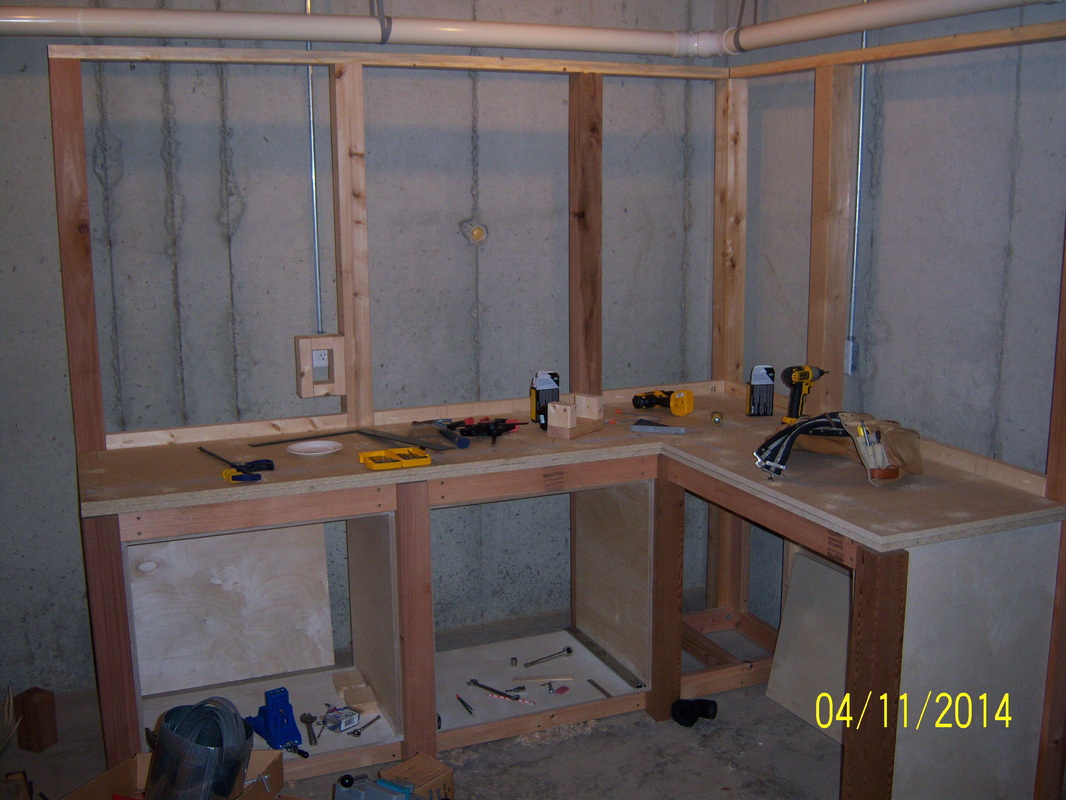
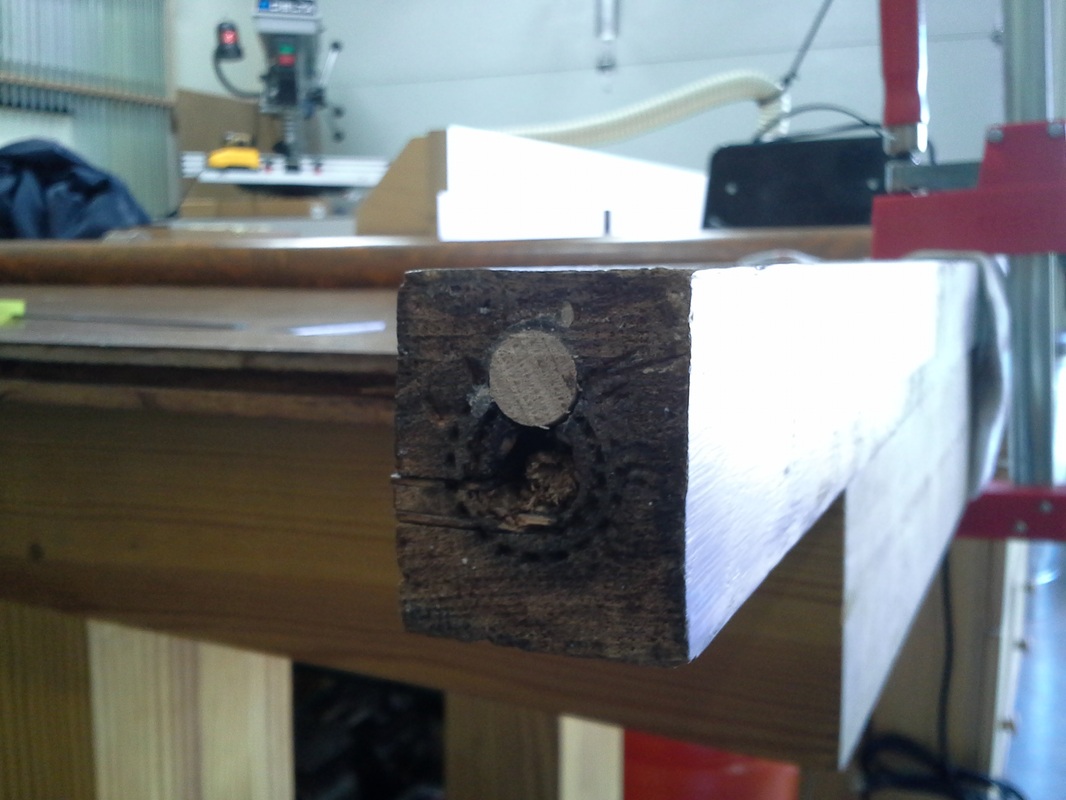
The top has been installed - two layers of 3/4" particle board for a thickness of 1 1/2". A piece of 1/4 hardboard will cover the particle board. The particle board added a lot of weight and rigidity. I will install trim to cover the edge of the particle board that will also cover the gap between the post and the top. The gap is due to needing some adjustability when building the bench to make sure the top is dead level.
0 Comments
A friend of mine asked me to repair an old quarter-sawn bed that has been in his family for years. The wood on the leg, where the runner connects, gave way and needed to be replaced. After fitting a piece of oak and gluing it in place, I marked out the slot for that accompanies the metal hooks of the bed rail. I drilled most of the waste out with a 1/4" forstner bit, but the remaining wood was removed with a chisel. You have to love the "prison shank"-look of the Ashley Isles mortising chisels... To reinforce the weak, end-grain glue joint between the bottom portion of the bed leg and the new piece, I drilled a 1/2" hole through the leg and glued in place about 6" of oak dowel. You can see the two 1/4" pieces of steel bar that were inserted and engage the metal hook on the bed rail. Overall, I would give me a C+ on color matching, but the repair turned out pretty well. - Andy Going back several blog entries ago, I spoke about having a clean, organized shop. Well, I took some time the other day to get everything back in it's place. Starting with a clean area will help keep the next project orderly and hopefully progressing right along. What will that next project be? I am not sure... Time to hit Google Images and see what jumps out at me. Thanks! Andy For the last several months I have been working on the same project - and now that project is done... So what now? I guess I will make sure all of my tools are cleaned and put away, and most importantly - sharp. I think spending some time sharpening chisels and plane blades will give me some time to think about what to build next. All I know at this point is that it will be made of cherry since I now have 500-boardfeet of it. - Andy I love the feeling and appearance of wax on top of a smooth wood finish. There is just something about how your hand glides along that is appealing. With that being said, rubbing out dried wax can be a bit laborious and time consuming. To make the job easier, I used a microfiber-like buffing pad made by "SURBUF" (purchased at Woodcraft). Not only does the pad reduce the labor involved, it also leaves behind a smoother, slightly satin, appearance that I really like. Give it a try! - Andy While drilling the two outside, 1/2" recesses for the SOSS hinges I realized that I needed to clean-up the inner edge of the recess. The solution I came up with was right at hand - the hollow, metal end of an "acid brush" (disposable glue brush). The thin, rolled metal tube that makes the handle of the brush had just enough of a cutting edge to clean out some of the remaining shavings that just wouldn't break free. Each year Woodnet (www.woodnet.net) sponsors a Secret Santa gift exchange. This year my SS sent me a wonderful gift from Lee Valley Tools! I received two dovetail marking gauges (1:6 and 1:8) and a really nice Japanese dovetail chisel. A BIG THANK YOU to my Secret Santa! I greatly appreciate the gift. Andy |
Archives
September 2018
Categories |