Kitchen Table
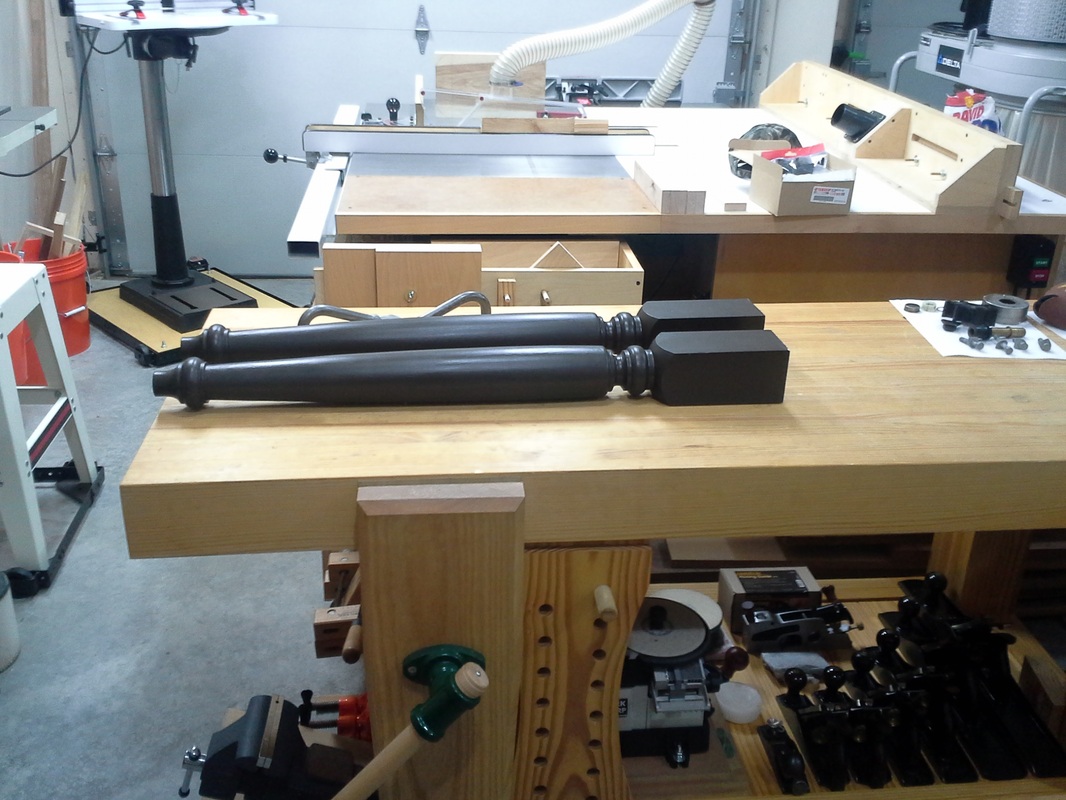
A very good friend of mine and his wife bought two nice table legs and a large (5' x 2') slab of butcher-block. The design plan was to use the two table legs and a small bookshelf to support the top. All that was left to construct was an apron to hold everything together.
Kitchen Table
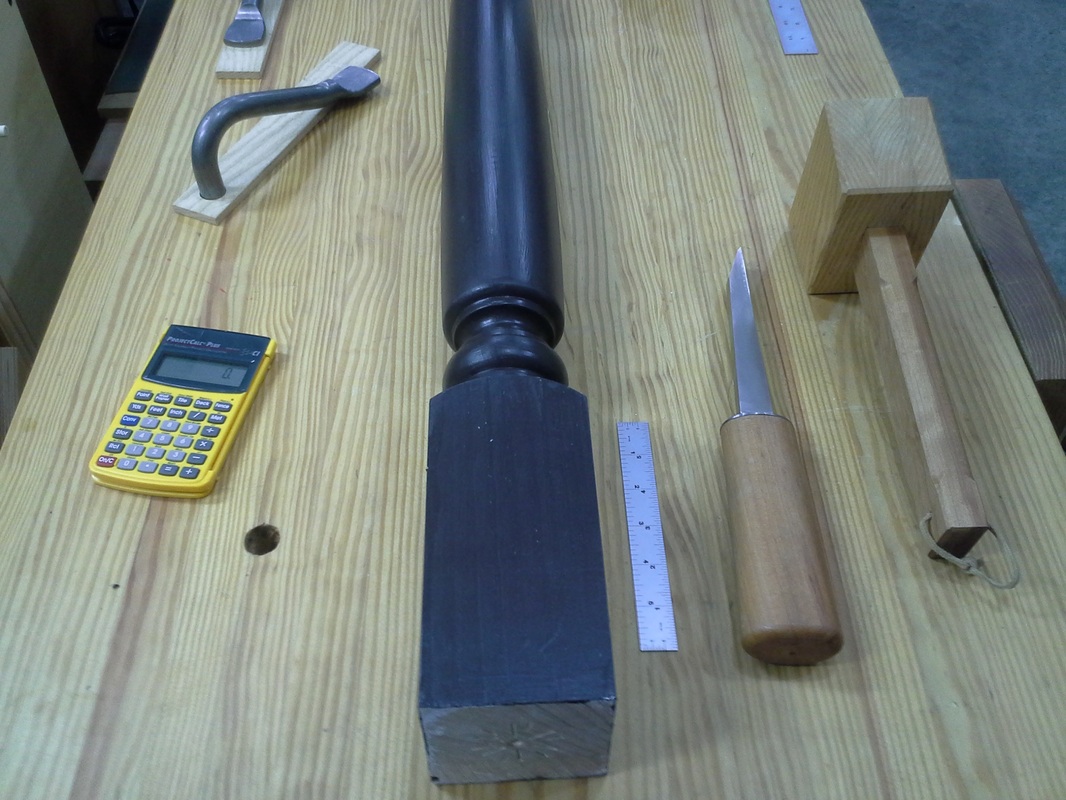
First thing needing to be done was to layout and cut the mortises for the apron tenons.
Kitchen Table
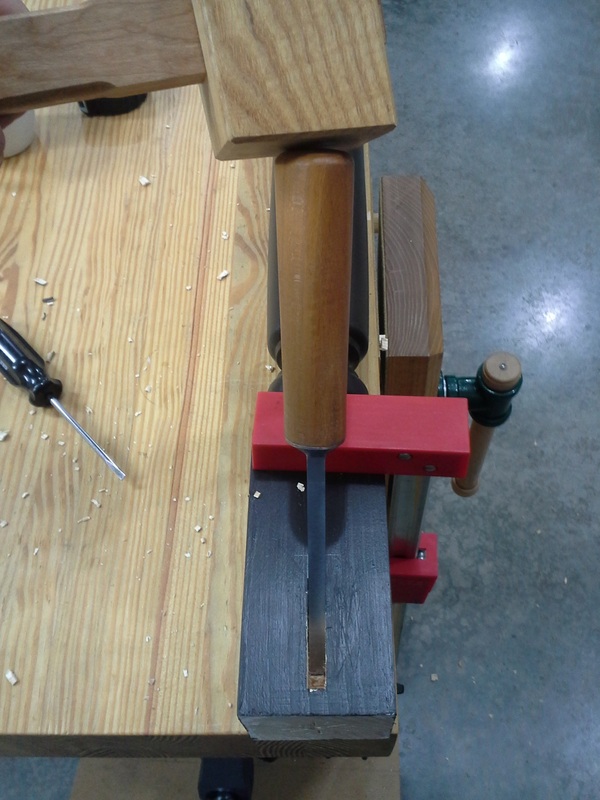
Since the apron will be constructed of 3/4" thick poplar, a 3/8" mortise will work out perfectly - which happens to be the width of my large mortise chisel...
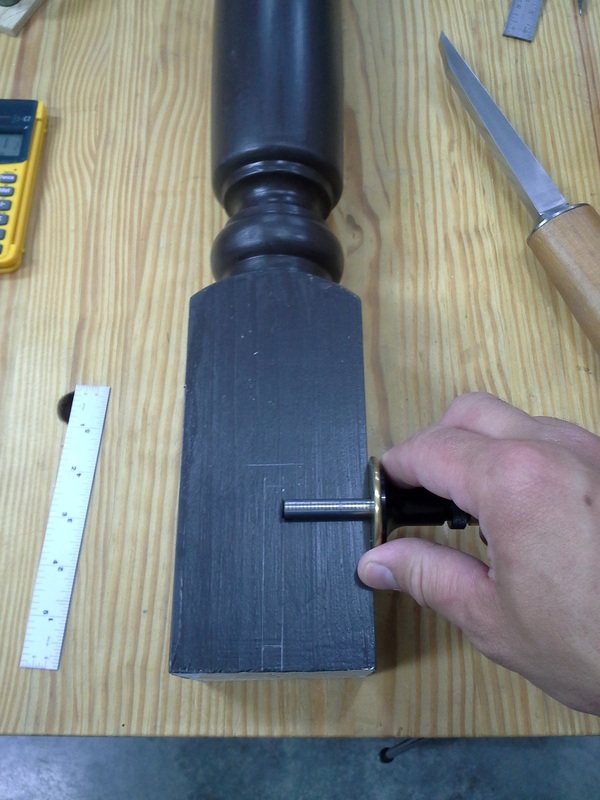
Using a marking gauge, I scribed the layout lines fairly deep into the top of the table leg to help define the sides of the mortise when chiseling out the waste.
Using a marking gauge, I scribed the layout lines fairly deep into the top of the table leg to help define the sides of the mortise when chiseling out the waste.
Kitchen Table
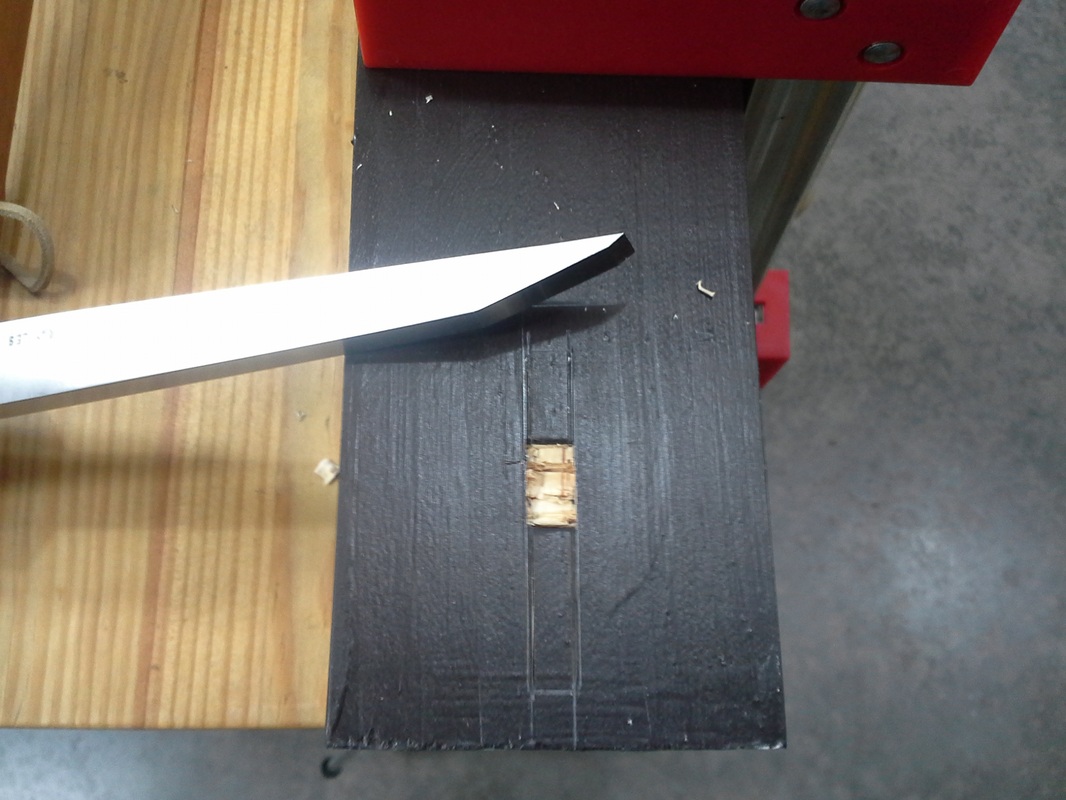
The mortise chisel, which has a 35-degree bevel, chopped into the pine table leg fairly easily.
Kitchen Table
Kitchen Table
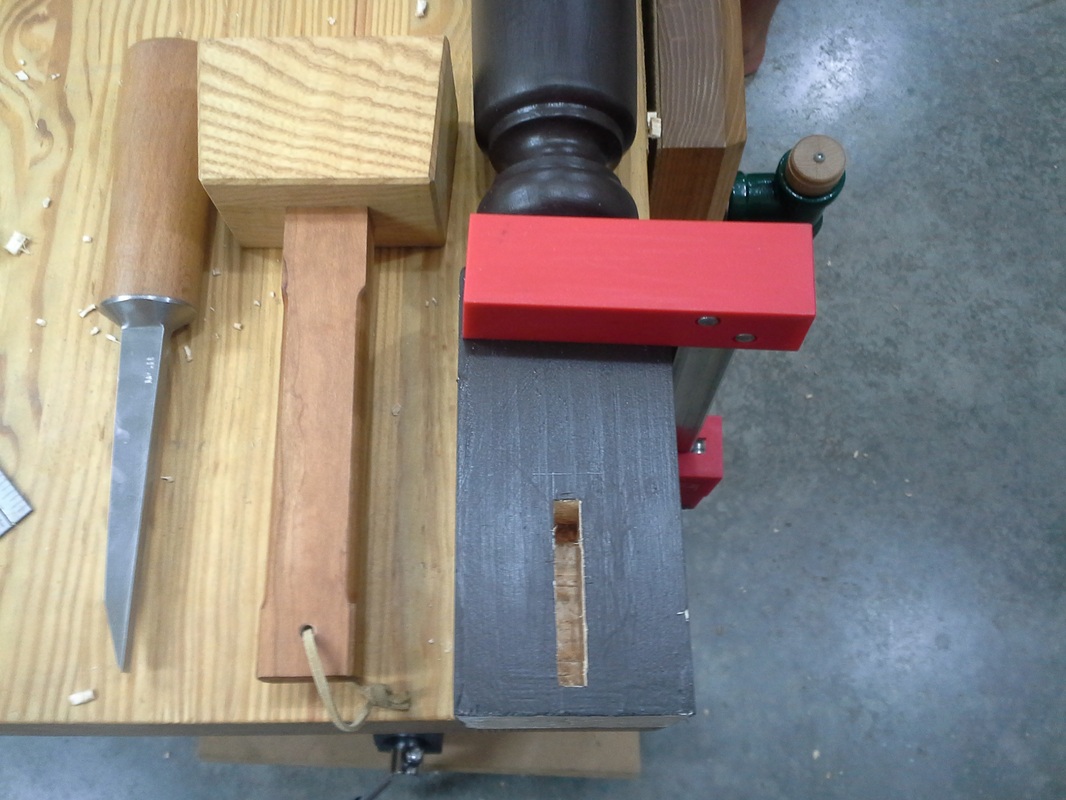
The time it took to chop this mortise was much less than the time it would have taken to setup a drill press and drill out most of the waste prior to paring the sides with a bench chisel.
Kitchen Table
After all four mortises were created, the two table legs were set aside so that work could begin on the aprons.
Kitchen Table
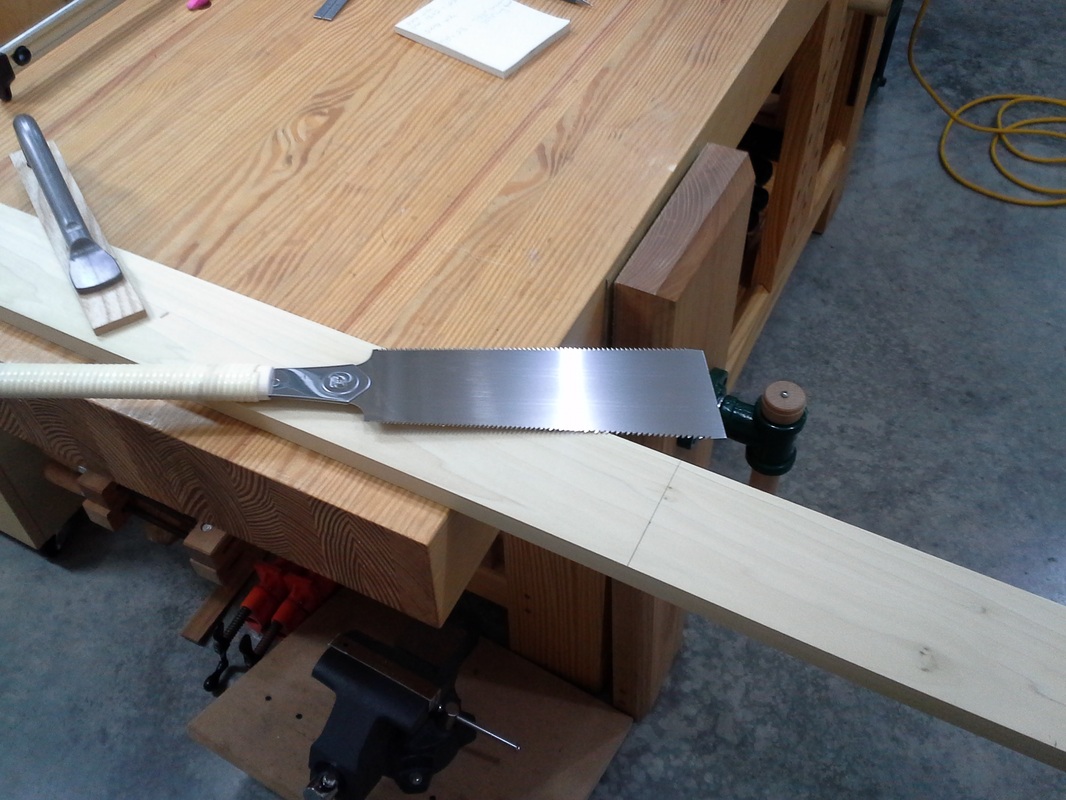
Due to the length of the boards and the confined space in my shop, I used one of my favorite type of hand tools - a Japanese saw - to cut the apron boards to length prior to cutting the tenons.
Kitchen Table
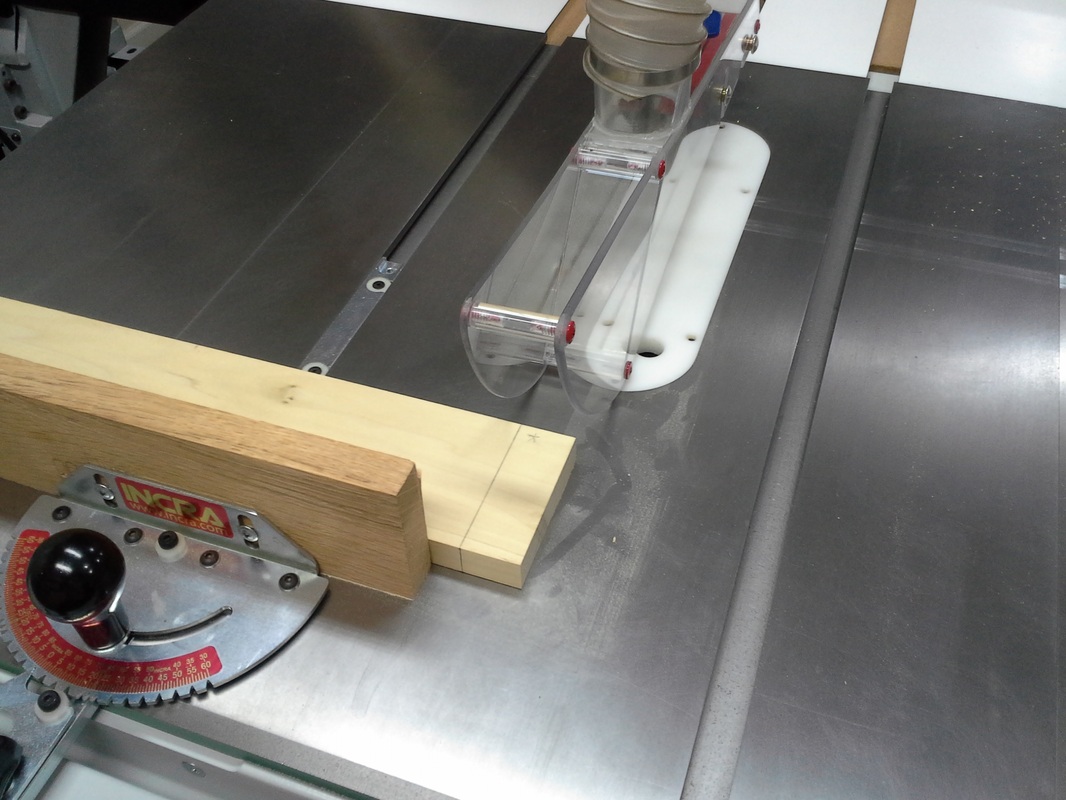
I used a regular rip blade in my table saw to nibble away at the waste instead of taking the time to set up a dado blade due to the fact that I only had four tenons to cut.
Kitchen Table

I used a large should plane to clean up the tenons after they were cut on the table saw.
Kitchen Table
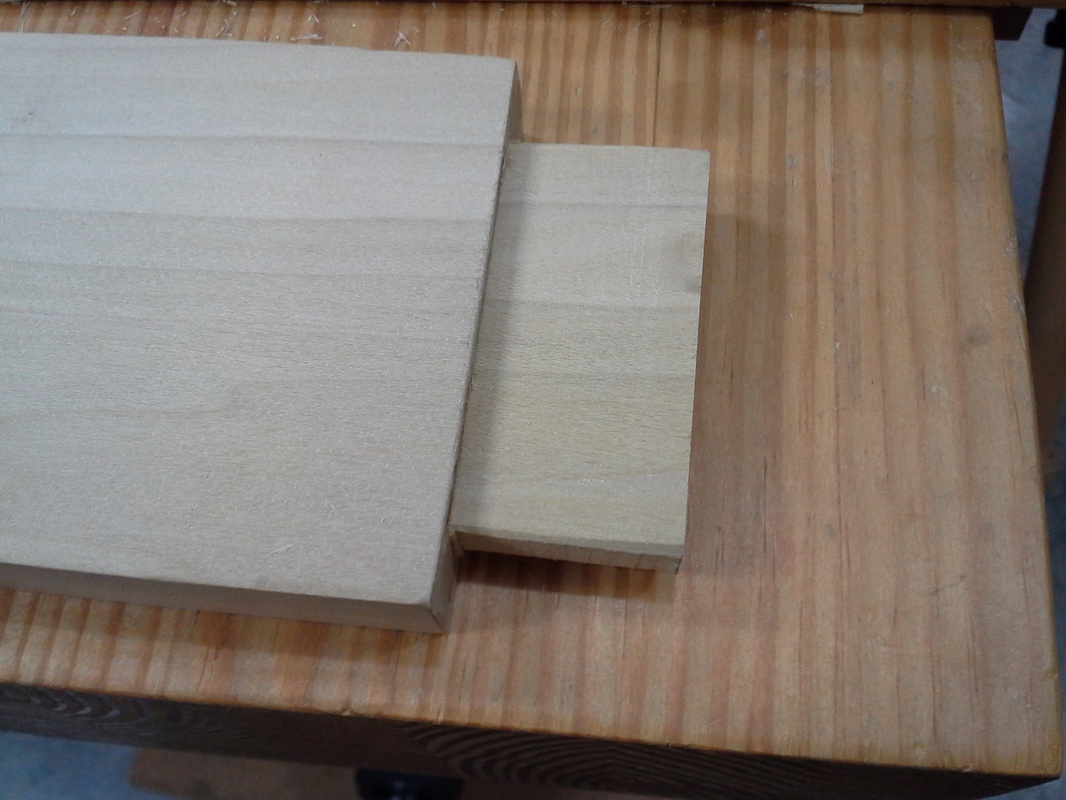
Once the face of the tenon was cleaned up, I cut the tenon to width and pared the tenon shoulders down with a chisel to make sure it would fit tightly.
Kitchen Table
Kitchen Table

Kitchen Table
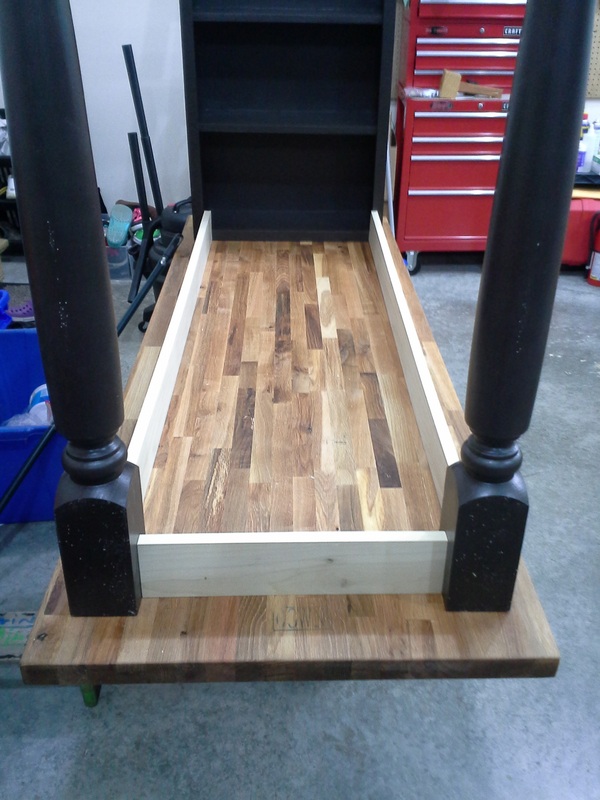
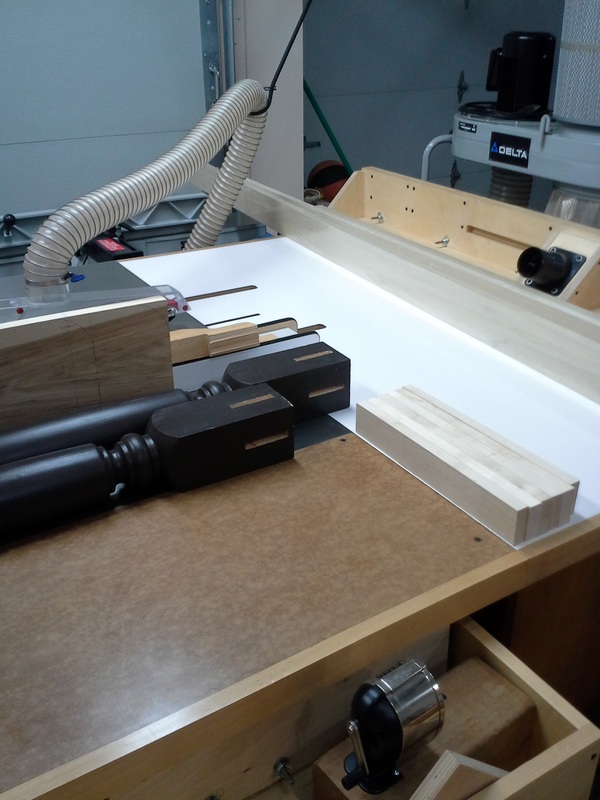
Here you can see how the table will be when finished, minus the two cross-pieces that will be installed. One will be dadoed into the center of the long apron, while the other will be rabbeted into the end and attach to the bookshelf.
I later installed metal table top clips with elongated holes to attach the top and allow for wood movement.
I later installed metal table top clips with elongated holes to attach the top and allow for wood movement.
Kitchen Table
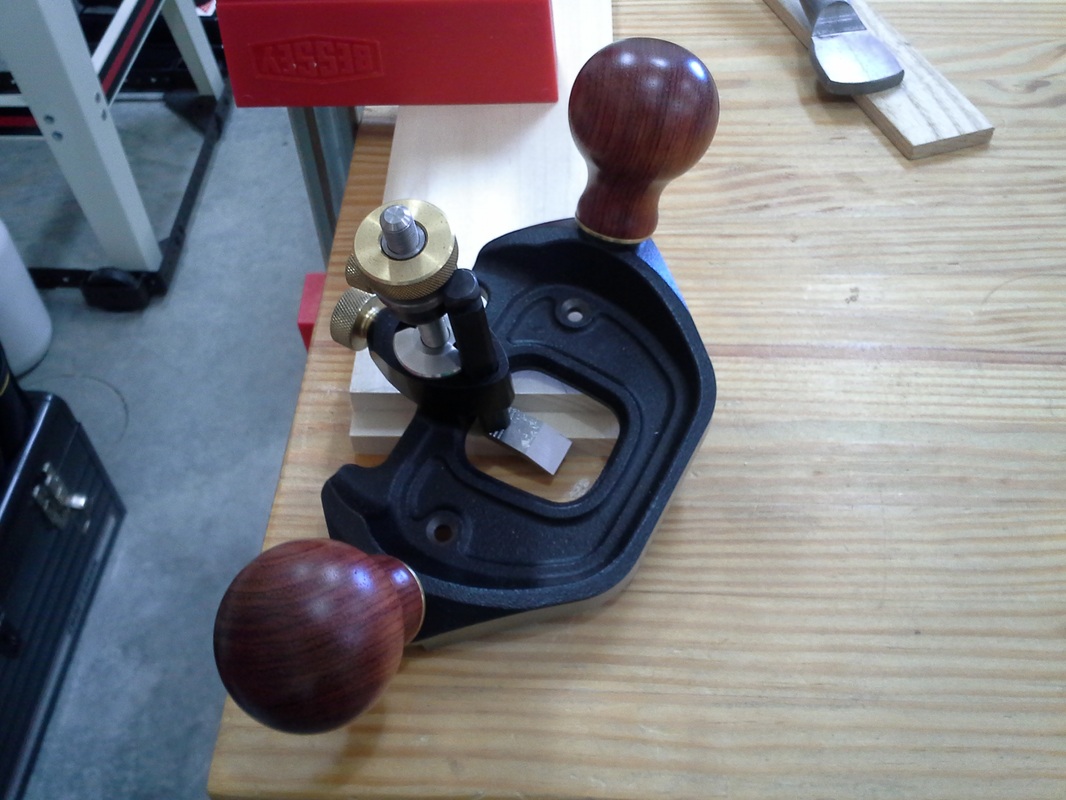
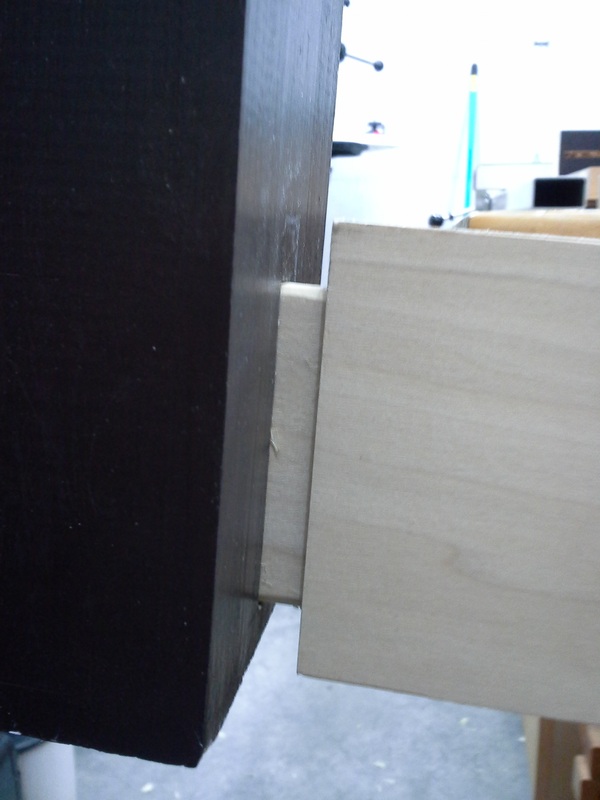
I cleaned up the rabbets with a router plane to make sure the joint would go together without any issues.
Kitchen Table
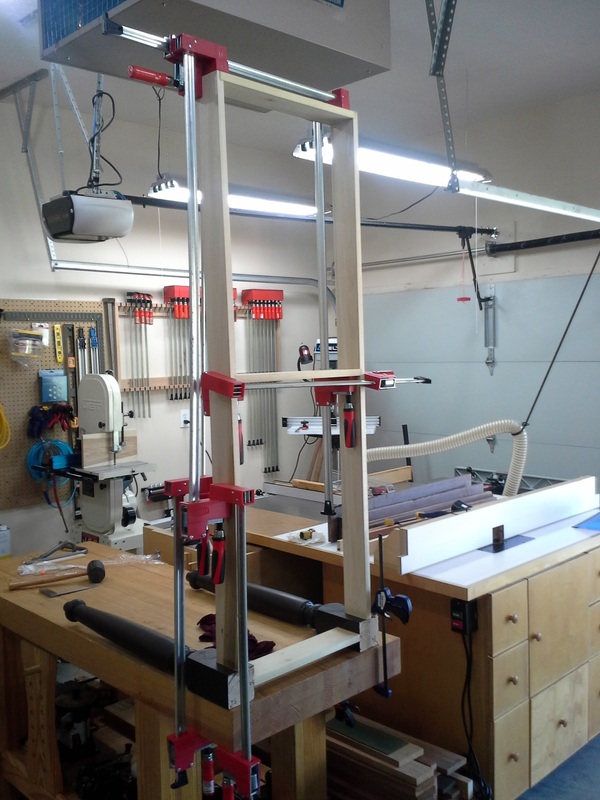
In order to keep the large assembly square, I had to be a little creative and use my bench to help pull things in the right direction.
You can see the two cross-pieces that were added. Once the glue dried, I used a plane to clean up the top edges to make sure it would sit flush to the underside of the table top.
You can see the two cross-pieces that were added. Once the glue dried, I used a plane to clean up the top edges to make sure it would sit flush to the underside of the table top.
Kitchen Table
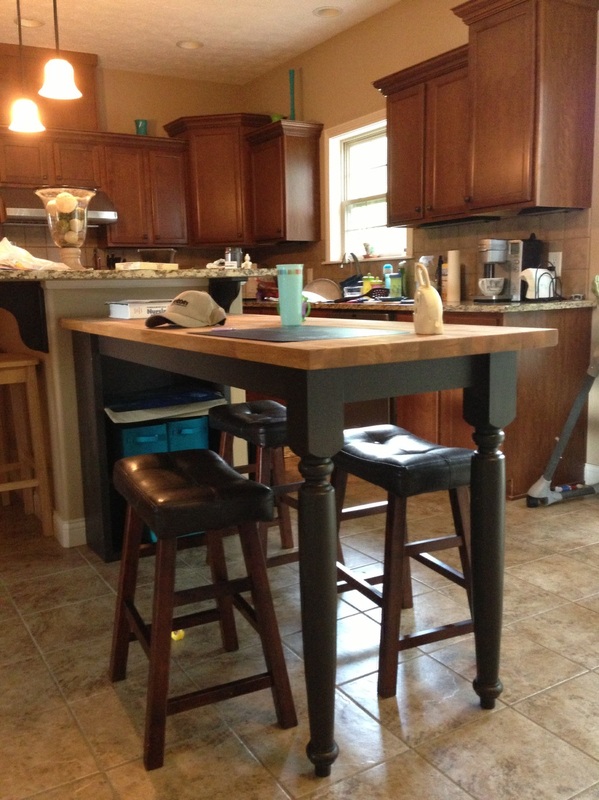
Here is the final product - a great looking table and a very creative idea from the table owners to use a bookshelf instead of legs for extra storage.
